Drywall Installation : Tips and Tricks For A Smooth Finish
Drywall, also known as gypsum board, is a premium building material used in many residential, commercial, and industrial buildings. Learning how to hang drywall properly using basic tools can be quite easy with the right information.
Best Tips For Hanging Drywall 101
Hanging drywall isn’t rocket science, but you definitely need to have a knack for it. Here are some drywall hanging tips and tricks to help you achieve the perfect finish when installing drywall.
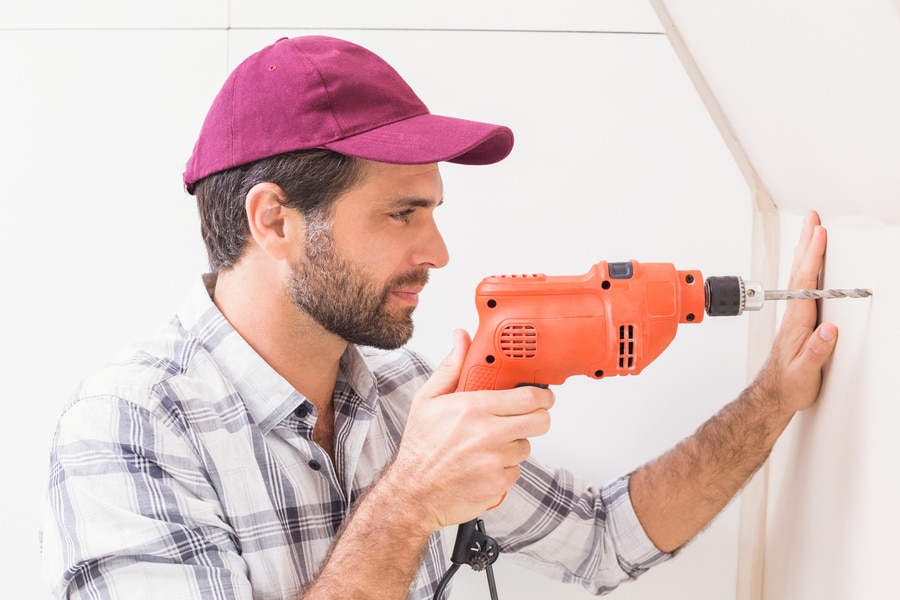
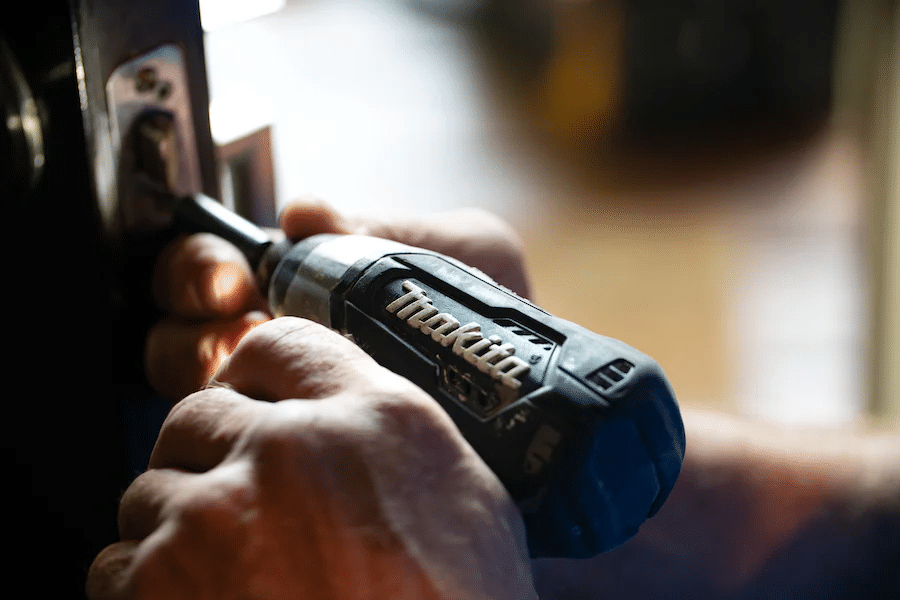
Prepare The Right Tools
Before you begin hanging drywall, you need to ensure that you have all the necessary tools. Some essential tools for hanging the drywall include a drywall or utility knife, a drywall saw, a drywall square (that acts as a straight edge), a drywall screw gun, a cordless drill, and drywall screws. Depending on the height of your ceilings, you may opt to rent a drywall lift so that you are able to reach higher. Having the proper tools on hand can make the work easier. Most of these can be found at your local hardware stores.
Choose The Right Drywall
Next, you will want to ensure that you have the right drywall sheet. The type of drywall you choose can impact the smoothness of your finished walls. If you are looking for a smooth finish, then you should consider using a lightweight sheet of drywall. Lightweight drywall is easier to handle and can provide a smoother finish compared to traditional drywall.
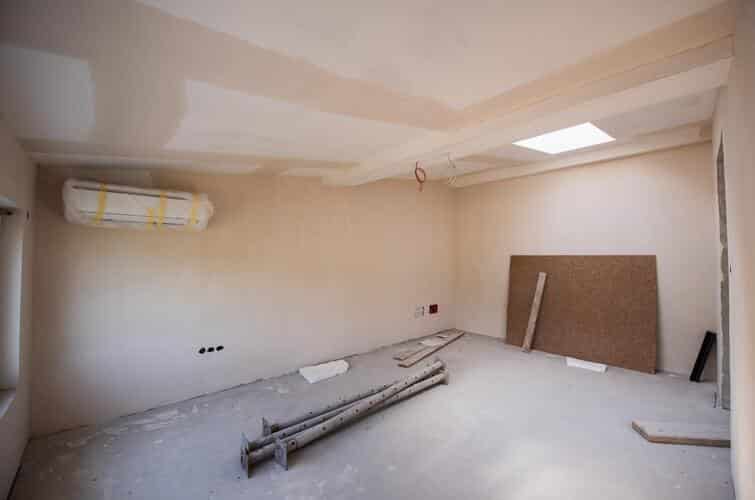
Prepare Your Wall
Before you can even begin installing the drywall, you need to prepare your wall surfaces and edges. You can do this by removing any old drywall or wallpaper, sanding down any rough or uneven spots, and cleaning your walls can ensure that your new drywall sticks to your wall surface evenly. If your home has wood framing members, you have to ensure that these framing members are aligned in a straight plane.
Plan Your Layout
Next, you will need to carefully plan the layout before hanging drywall. Be sure to measure your walls accurately and plan where each piece of drywall panel will go, especially the first panel or first sheet. Plan for any obstacles, such as electrical outlets, an electrical box, ceiling fixtures, window, and door openings, or light switches, and cut any necessary access holes. As a rule of thumb, you can add a 1/4 inch for easier installation.
Use Level Lines
Throughout the entire process, you will want to ensure that you have straight lines, especially around a door or window corner, window openings, and inside corners. Using level lines from the top to the bottom row can help ensure that your drywall is installed evenly and that you have straight edges when you cut openings for things like electrical boxes, windows, and doors. When installing the wall panels alone, you can use two screws that are level and can rest the bottom edge on them to help hoist up the panel.
Cut Your Drywall Carefully
A great drywall job means well-cut drywall paper. When cutting drywall, be sure to use a sharp knife or saw to ensure a clean break on the paper face. You can do this by running a cutting blade down the sheets with a straight edge and drywall or T square. You can cut through the paper backing and remove any waste.
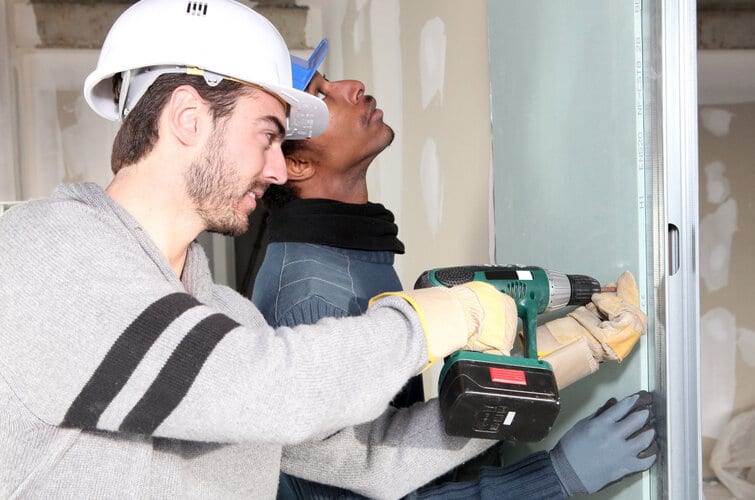
Install Drywall In Staggered Patterns
When installing or hanging drywall, be sure to install it in staggered patterns as you drive screw heads into the frames. You can use the same strategy to drive screws into the ceiling as you do the walls. However, you should avoid having the spiral bit breaking through the gypsum core or drywall compound as this will damage the integrity of the material. Staggering your drywall can help ensure that your walls have a smoother finish by reducing the number of seams.
Apply Tape and Joint Compound
To create a smooth finish after the final coat, you will need to apply tape and joint compound to the seams between your drywall sheets and cover the butt joints. You should avoid placing joints over doors and window corners as they can crack. Be sure to apply the tape and joint compound evenly, using a drywall knife to smooth it out. For outside corners, be sure to apply compound to both sides.
Sand and Repeat
After applying the tape and joint compound, you will need to sand the surface of your walls. Be sure to use fine-grit sandpaper and sand until it has a smooth surface. You may need to repeat this process several times to achieve the perfect finish. Then, you can finish the project off with a coat of paint.
Work With Professionals
Still unsure about doing it yourself? Trust the professionals at Honest Renovations to complete the process properly, from the first coat to the last and from the floor to the ceiling. Contact us today to see how we can help!


Leave a Reply
Want to join the discussion?Feel free to contribute!